How to install bird netting: step-by-step instructions

How to install bird netting: step-by-step instructions
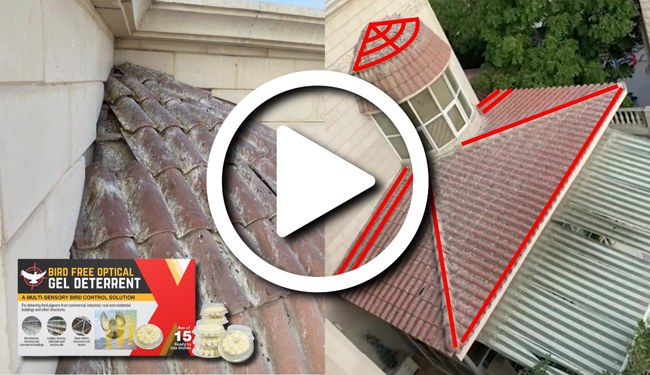
Installing bird netting is a highly effective method for bird control as it creates a physical barrier that prevents unwanted access. This approach is particularly suitable for areas experiencing medium to heavy bird pressure, as it requires low material costs and low maintenance. However, setting up anti bird nets demands a high level of labour and skill so we have prepared some tips to help you get it right!
What to consider before you install a bird net
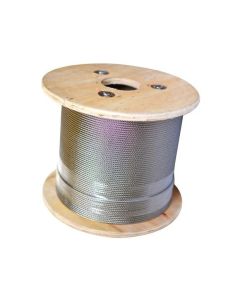
Bird net components are available in various sizes, weights, and materials. Before you start the installation process, you must first carefully evaluate the substrate of the structure being protected – will you be able to drill anchors into it and does it have enough strength to hold the tension of the supporting cables? Also where is the structure located? If it's outdoors, keep in mind that stainless steel fixings are more water-resistant than galvanised steel options. Pay special attention to the choice and placement of anchors to be used at the corners of the net as these will bear the maximum loads.
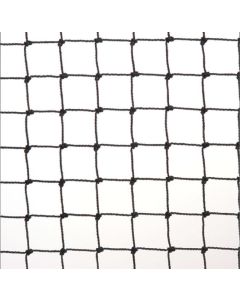
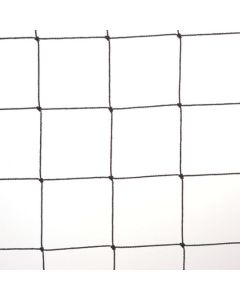
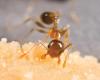
It's also crucial that you factor in the bird species you're deterring. Different mesh sizes cater for different bird species, with 50mm mesh suitable as pigeon netting and for the control of other larger birds such as seagulls, while 19mm mesh is effective for controlling all bird types, including smaller species like sparrows.
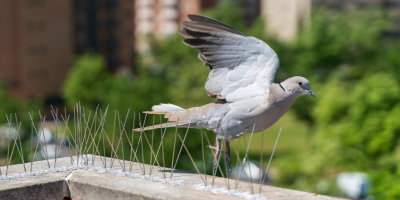
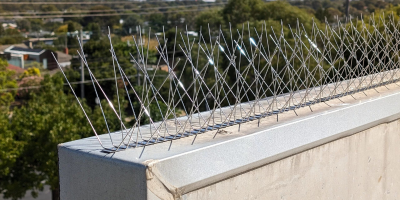
Make sure that the area you're netting doesn't leave any ledges or other projections nearby where the birds can relocate after installation. Depending on the situation, bird species and surface, a combination of different bird proofing systems may be necessary for effective control, for example a mix of netting and bird spikes.
Now that you've taken into account the conditions, target bird species, anti bird netting components and other bird control products needed, it's time for the installation process.
Step-by-step guide to installing bird netting
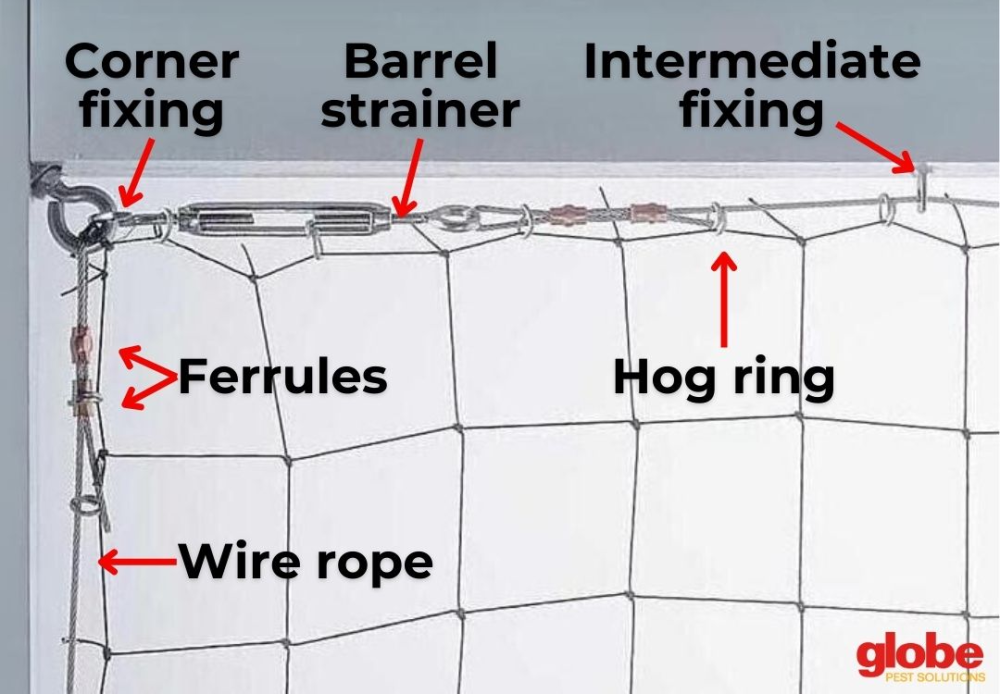
Step 1: Install corner fixings wherever the wire turns a corner, or at least every 10m along a straight run. These fixings carry the weight of the net.
Step 2: Fit intermediate fixings in a straight line between the corner fixings. Spread these out based on bird size – for example every 100cm for pigeons, every 60cm for starlings and every 30cm for sparrows.
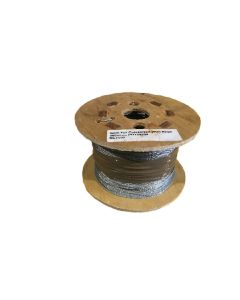
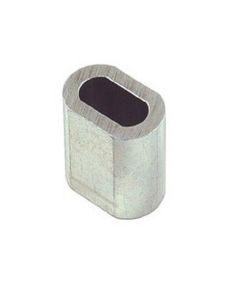
Step 3: Loop one end of the wire rope through the corner fixing and secure it with two ferrules.
Step 4: Hook an opened barrel strainer to the adjacent corner fixing and secure the free end of the wire rope through the eye, again securing it with two ferrules. One barrel stainer should be fitted per corner fixing.
Step 5: Tension the wire by tightening the barrel strainer.
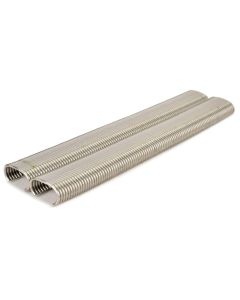
Step 6: To attach the bird netting to the wire rope, start at a corner and attach hog rings to every mesh square along 1 metre of a side and then switching to the other side and finishing the full length of it. To ensure no gaps are left, remember to leave a few squares of excess bird mesh on both sides of the corner that you can trim to size later.
Step 7: Continue around the net and hog ring every mesh square on the edge to the wire rope, ensuring the net is pulled tight and square. Remember to finish installing your net and ensuring it fully covers the required area before you cut off the excess.
Now that you know the key steps to setting up a bird net, check out our range of high quality bird nets and fixings online, and if you're after tailored advice for your installation, feel free to reach out to your local Globe Pest Solutions team.
Related Posts
Choosing the right bird control method: Balancing pros and cons
How to Choose the Right Bird Spikes: A Complete Guide