How to Maximise Your Sprayer's Performance with Regular Cleaning

How to Maximise Your Sprayer's Performance with Regular Cleaning
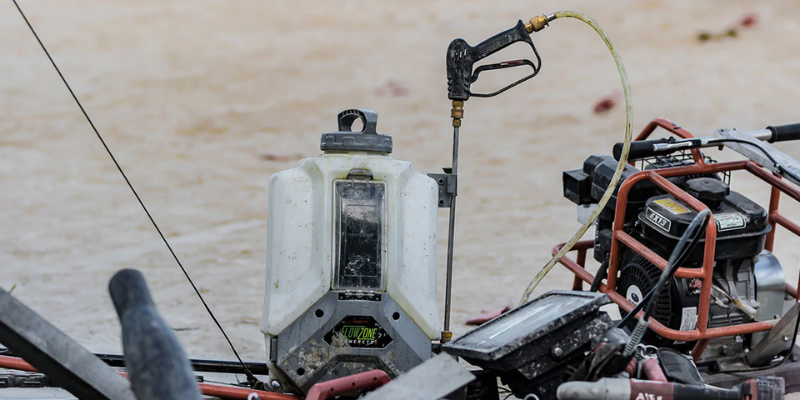
When it comes to maintaining your spray equipment, regular small actions can add up to extend the life of your sprayer for years to come. Whether you have a hand sprayer, backpack sprayer or trolley sprayer, keeping it in top condition requires cleaning it out after each use to prevent chemical buildup.
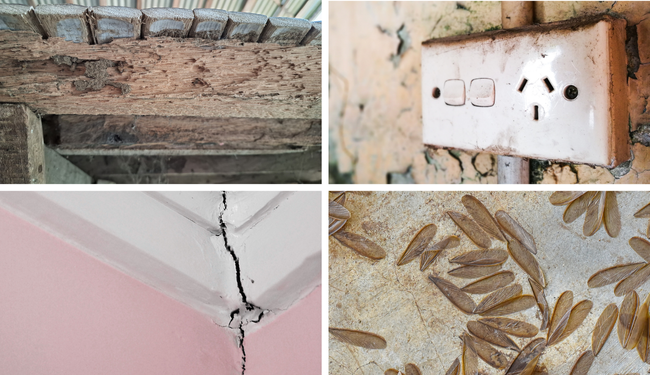
What happens if I don’t clean my sprayer?
Never store your sprayer while there are residual chemicals inside as these can thicken and clog inside the tank, filter, pump, gun, hose and nozzles. Over time, this will build up and limit your sprayer's pressure and performance. Furthermore, these chemicals can cause significant damage to the seals of your sprayer, which leads to leaking and unwanted debris entering the sprayer’s internal components, and ultimately pump damage and failure. Thankfully all this can be avoided through proper cleaning!
How often do I need to clean my sprayer?
Don’t worry, if you’re regularly using your sprayer throughout the day, there’s no need to squeeze in a clean when you’re travelling between jobs. However, we recommend that as a minimum maintenance standard, you set aside ten minutes at the end of each week to thoroughly clean out your sprayer. This will help flush out any residual or chemical build up so the sprayer is at its best for next week’s clients.
How to clean a sprayer?
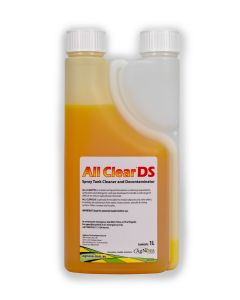
To properly clean out your sprayer, make sure you have All Clear DS Spray Tank Cleaner and Decontaminator. All Clear DS Tank Cleaner is specially formulated to remove deposits and other debris, including oily substances from tanks, hoses, booms, transfer & mixing systems, filters, screens and nozzles.
Ensure you’re wearing appropriate personal protective equipment and review any relevant product labels and Safety Data Sheets (SDS). Then, grab some water and a bucket, and follow the 5 simple steps below:
- Dispose any remaining product – Empty any remaining pesticide solution from the spray tank and safely discard any remaining product following the manufacturer’s instructions.
- Perform an initial rinse – Fill the tank with clean water to roughly 20% of its capacity, agitate, circulate the water through the system and then drain.
- Add All Clear DS Tank Cleaner and water – Mix All Clear DS Tank Cleaner with water according to the label’s dilution rates, fill the tank and agitate it.
- Flush the system with the cleaning solution – Run the pump and circulate the cleaning solution through the entire system, spraying it out into a bucket to clean every part, including the hose, wand and nozzles. Let it soak as recommended.
- Final rinse with fresh water – Lastly, fill the tank all the way up with fresh water, agitate and spray out the water for a final flush of the whole system.
Inspect your spray equipment for cleanliness and repeat the above process if necessary. Once you are satisfied with the level of cleanliness, allow the sprayer and the components to dry completely.
Cleaning other sprayer components
In addition to the main tank, spray guns, nozzles and wands are other parts of your sprayer which must be cleaned out and maintained. Components such as the filter screen and shut-off valve may require specialised cleaning so make sure you follow the instructions provided in the owner’s manual to best clean your specific sprayer.
Now you understand why it’s so important to clean your sprayer!
Regularly cleaning your sprayer is one of the most important things to ensure to extend the life of your sprayer and spray components. By dedicating the time to thoroughly rinse it out after each use, you can prevent chemical buildup, protect the internal components and minimise the cost of repairs and replacement parts. Follow this simple post-spray care routine to ensure your spray equipment is always performing at its best!
Related Posts
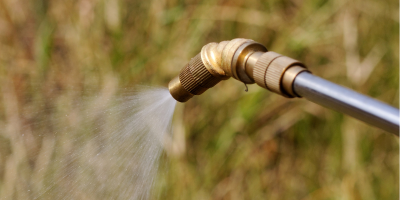
Choosing the Best Nozzle Spray Pattern for Pest Control

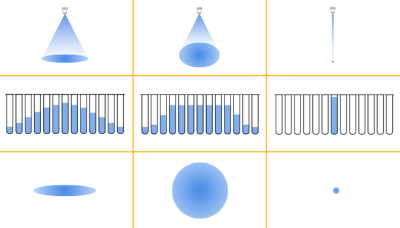
Understanding Spray Pressure, Flow Rate, Droplet Size and More
Cleaning and Maintenance Tips to Maximise Spray Nozzle Performance
Respirators in pest control: How to protect yourself when applying pesticides